|
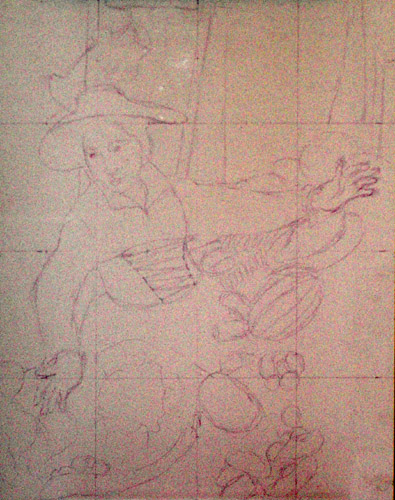
This will be a study of Pieter Aertsen's Market Woman with Vegetable Stall (circa 1567).
While I haven't found evidence that Aertsen actually used the 7-layer flemish technique, the fact that he's flemish
and from that time period gives me reason to try it out. Of course, that means I
could still be painting this in December...
So I'm going off of artpapa.com for technique references, and here's a
link to a description of the technique:
http://www.artpapa.com/oil-painting-lesson-1/index.html
The 7 layers are as follows:
1: Imprimatura
2: Umber Underlayer 1
3: Umber Underlayer 2
4: Dead Layer
5: Color Layer 1
6: Color Layer 2
7: Finishing Layer
So here's the initial sketch and layer 1, the imprimatura. I sealed the
drawing underneath, and can still see it even though it won't show up in photos.
|
|
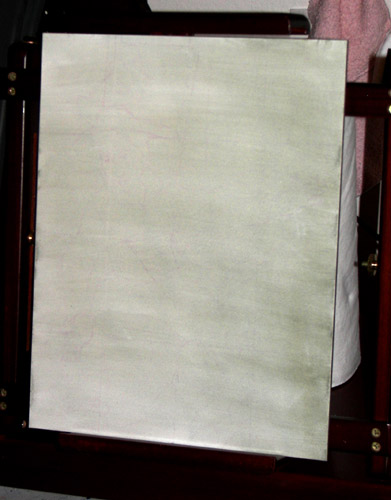
Layer 1: Imprimatura
The imprimatura is a mix of prussian blue, yellow ochre, burnt umber, and
white, to form an olive tone. I diluted this down to a wash, as the color needs
to be no darker than the brightest midtones.
|
|
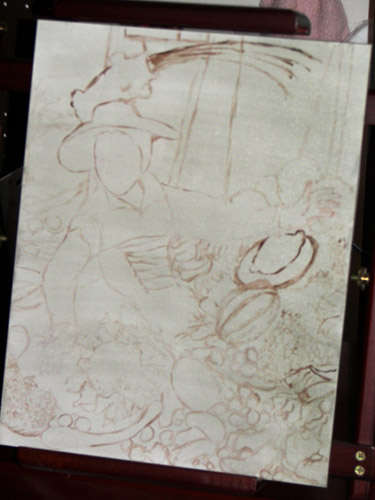
Layer 2a: Umber Underlayer
While I'm waiting for the imprimatura to dry completely, I decided to go ahead
and re-sketch the cartoon in burnt umber on the panel. This will just give me a
better idea of where all the various fruits and veggies go, as shading each of
them will be necessary in the next step.
|
|
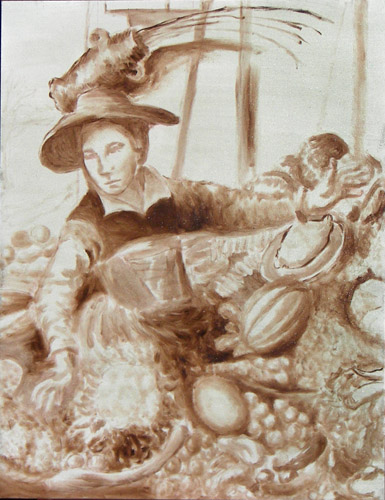
Layer 2b: Umber Underlayer
Here's the 2nd (umber) layer almost done, a bit more to do on the white areas and value corrections needed yet.
This is entirely burnt umber with linseed oil, I haven't gotten out the white yet. This took about an hour and a half, sketched in fairly quickly with a single brush, a #2 flat shader.
We'll see if the next layer refines it enough, I may need to do a 3rd burnt umber layer to clean it up enough.
What I'm learning about Aertsen so far:
Excellent use of negative space
Excellent use of contrast - if it's a white object, there's something dark behind it, if it's a dark object, there's something light behind it.
Excellent use of soft edges - many of the objects fade off on their shadow side into the dark areas behind them.
|
|
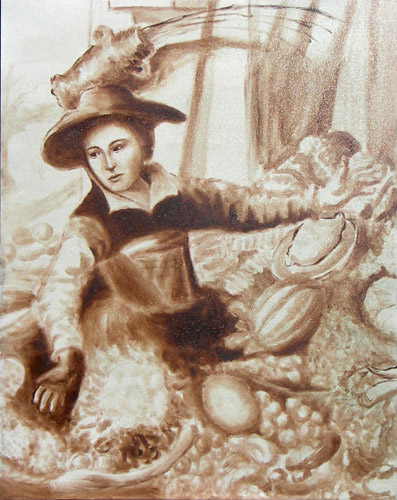
Layer 3a: Umber Top Layer
So I guess this would be considered the beginning of the second umber layer, which would be layer 3 of this process. Here I'm darkening the values to give the picture a complete value scale. I'm also at this point finalizing the placement of most of the objects in the scene.
|
|
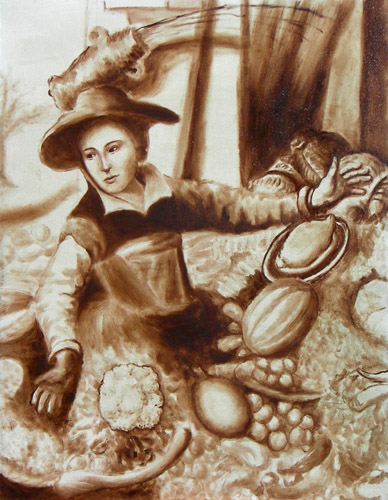
Layer 3b: Umber Top Layer
Here I'm continuing to darken the values and refine the painting. I'm still only using burnt umber, and this is still the 3rd layer, Umber Layer 2. I'm slowly working my way across the painting with a fine brush.
|
|
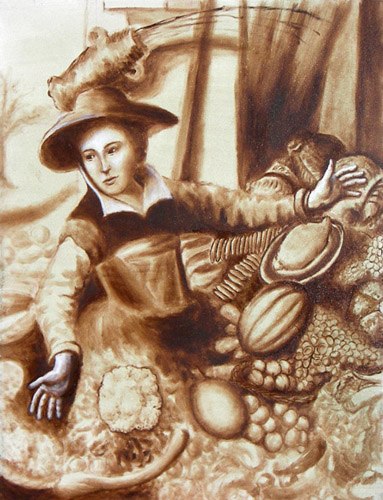
Layer 3c: Umber Top Layer
Here I've worked more on the hands and added more veggies.
|
|
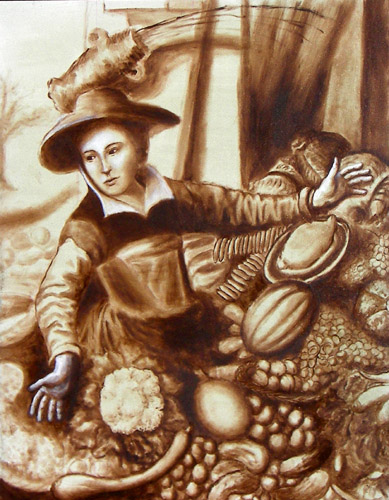
Layer 3d: Umber Top Layer
More work on the veggies. I'm making sure that the values are correct over the entire painting.
|
|
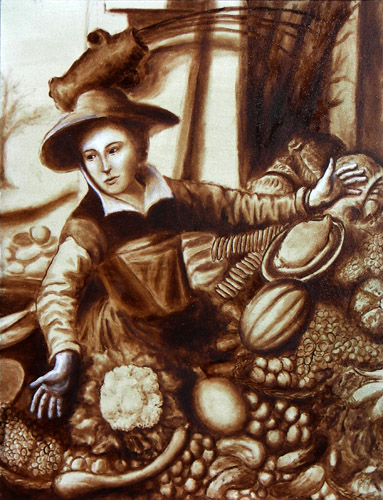
Layer 3e: Umber Top Layer
So here's the final for the Umber layer, I've gotten the placement and basic values of everything placed. This is only layer 3 of 7, so there's still a lot more to be done.
|
|
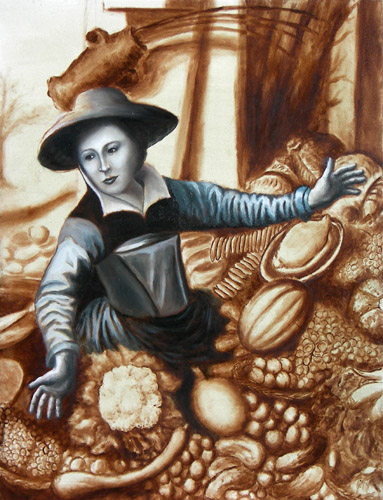
Layer 4a: Dead Layer
So here's my vampiress... (j/k)
One thing to note here is that this is NOT black and white. I'm using a mix of prussian blue, burnt umber, yellow ochre, and black to create an optical black. This is then mixed in varying degrees with white.
This part is going very fast - all of this was done in about 3 hours this morning, which is lightning speed compared to the last layer. It's almost like a paint by numbers now - paint dark over dark and light over light. Not much thought needed because all has been planned out in the previous layer.
|
|
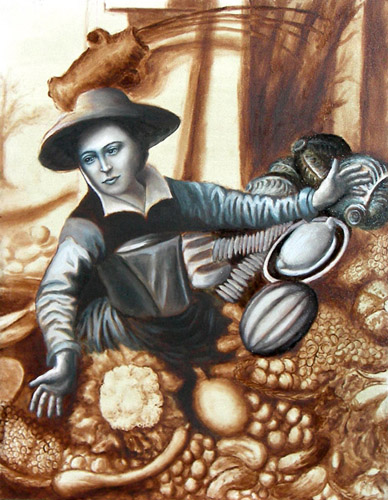
Layer 4b: Dead Layer
Here I've changed her face a bit and worked on the veggies. I'm attempting to clean everything up as I go, but there are some details I won't address until the finishing layer.
|
|
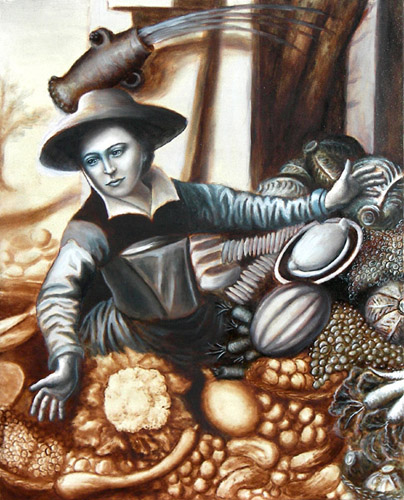
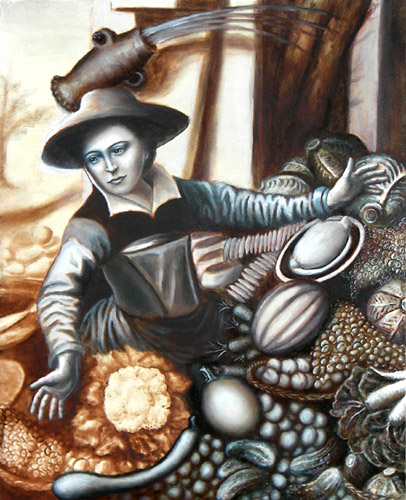
Layer 4c: Dead Layer
Here I'm continuing to work on the veggies.
|
|
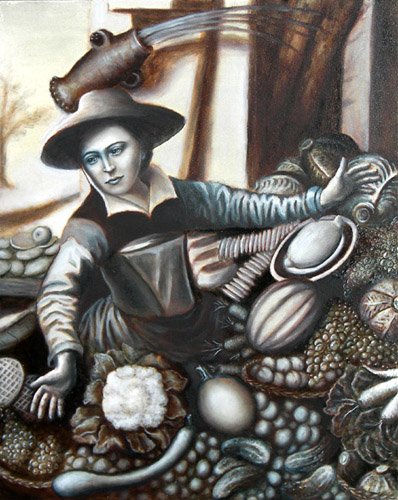
Layer 4d: Dead Layer
Still working on the veggies.
|
|
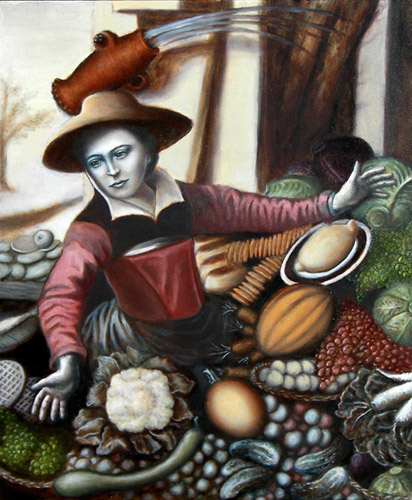
Layer 4e: Dead Layer
The final for the dead layer, next up is color. I'm at 31.75 easel hours on this so far.
|
|
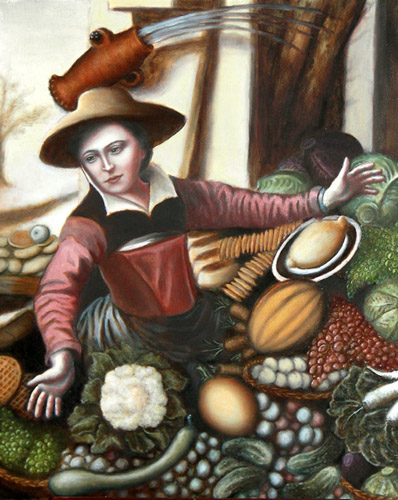
Layer 5a: Color 1
Here's where we get to the fun part!
So here's the first part of color layer 1. I'm very quickly scumbling color into their respective areas. I'm not being very careful about it, just working on establishing the local color of each area.
Because each color paint has a varying opaqueness, some of the values established earlier are not as pronounced. Also, some areas might look washed out or too intense in their color. That will all be addressed in color layer 2 with additional glazes.
|
|
Layer 5b: Color 1
Here's some more glazed veggies, and worked on the flesh tones - I'll be adjusting these a bit more yet.
|
|
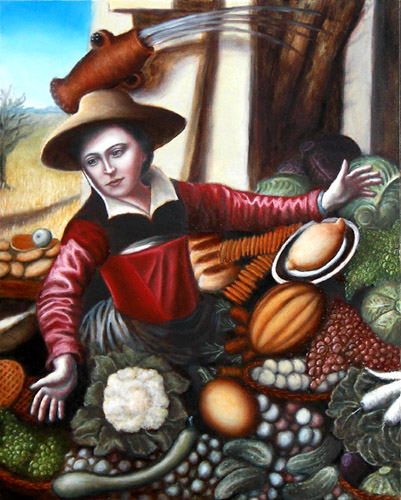
Layer 5/6a: Color 1 and 2
Here's the next installment.. Worked on adding a background scene, more glazing, and worked on the dress.
I'm kind of mixing up the layers now, some parts of the painting are almost complete, while others have yet to be glazed.
|
|
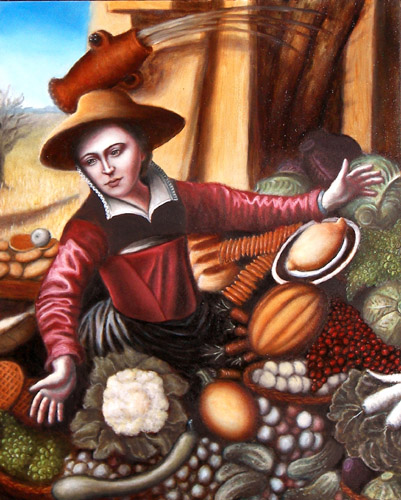
Layer 5/6b: Color 1 and 2
Here's an update - what I've worked on is probably not too obvious, but just cleaning up and defining various areas.
|
|
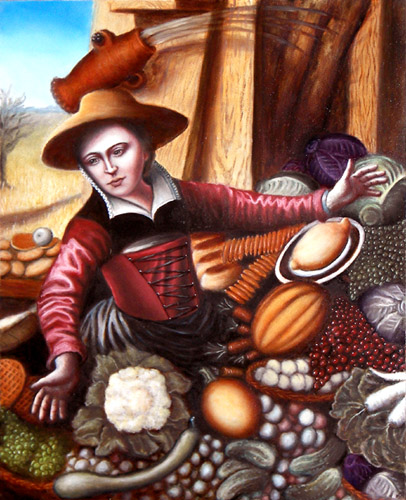
Layer 5/6/7: Color 1,2, Finishing
Worked on a bunch of the details - the changes are probably not too obvious.
I'm skipping around - some parts are almost done while others still need their first glaze. Keeps it interesting.
|
|
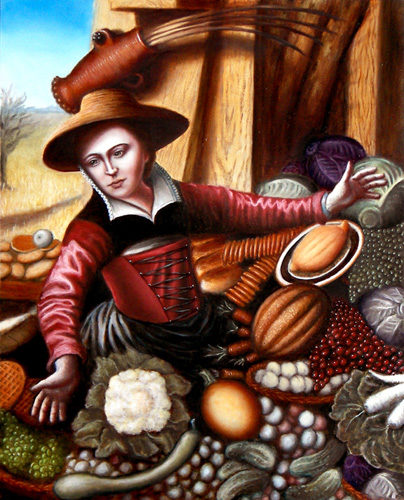
Layer 5/6/7: Finishing etc.
More details...
|
|
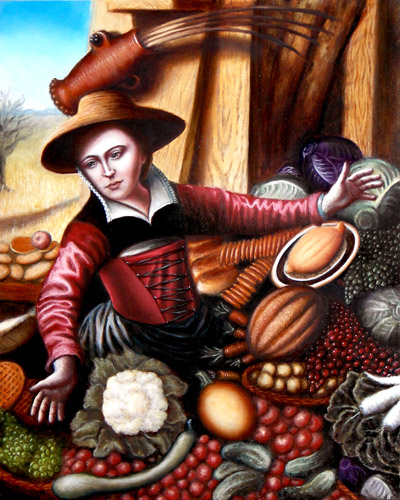
Layer 5/7: Color 1, Finishing
Here's an update, everything on the painting has at least one glazing layer on now.
|
|
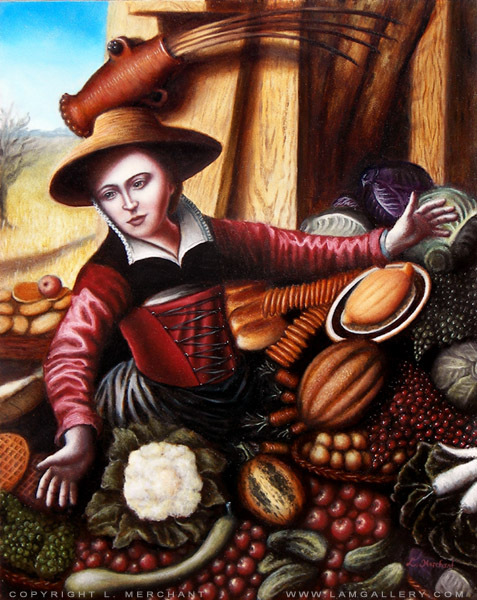
Layer 7: Finishing
Here's the final image. :)
|
